How to setup your own Worm Bin
Posted: Wed Oct 26, 2011 5:08 pm
Things you will need
- a plastic dustbin/bucket
- old newspapers
- starter worm culture(get it from a bait shop, or dig 'em up from ur garden)
Step 1
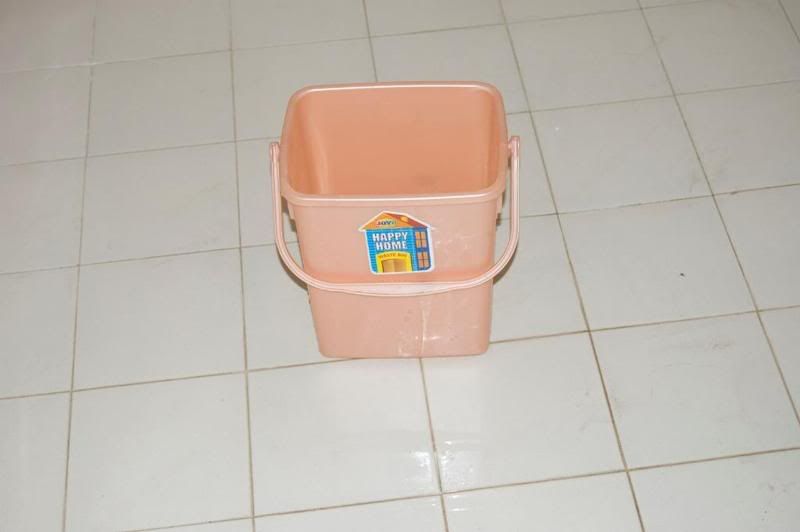
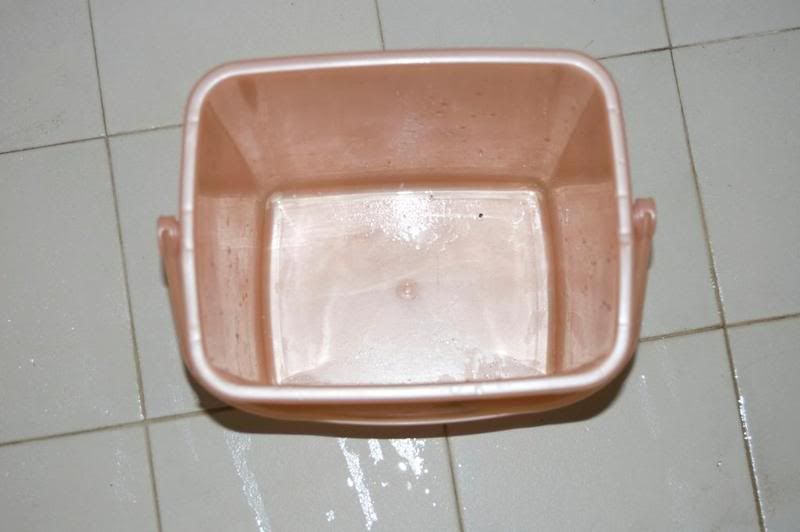
a medium sized dustbin or a bucket would suffice
Step 2
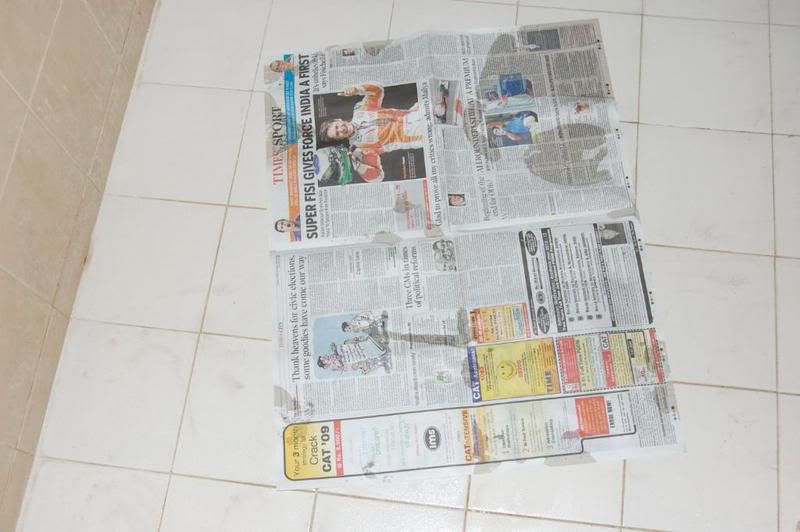
spread out the newspapers and sprinkle em with water, not too wet, that the paper is soggy but just dampen it, so that the moisture is held by the dustbin
Step 3
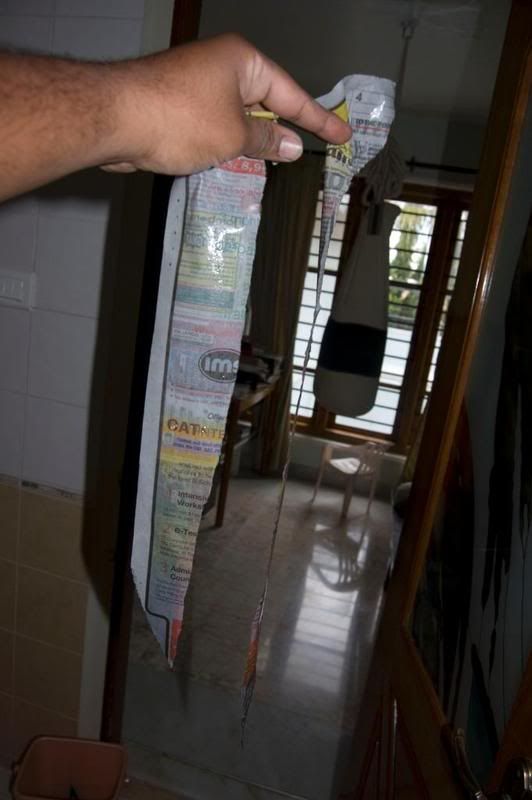
tear strips of the news paper
Step 4
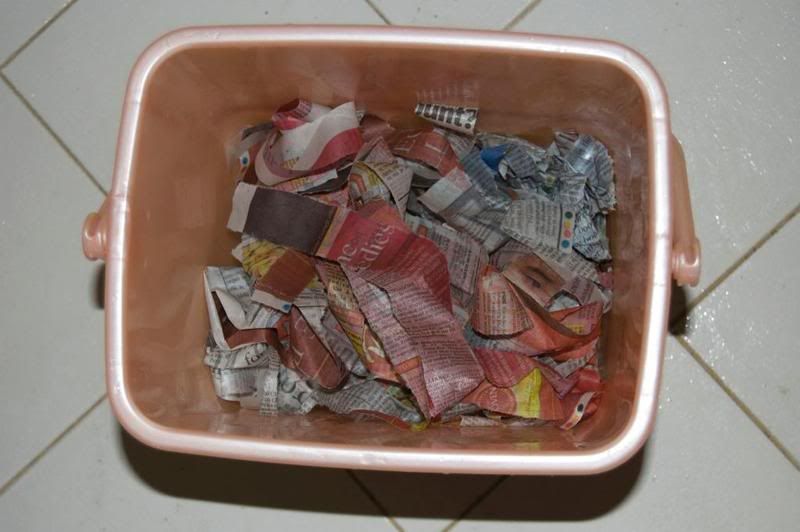
create a bedding at the bottom of the bin, using the strip of newspaper, do not compress the news paper
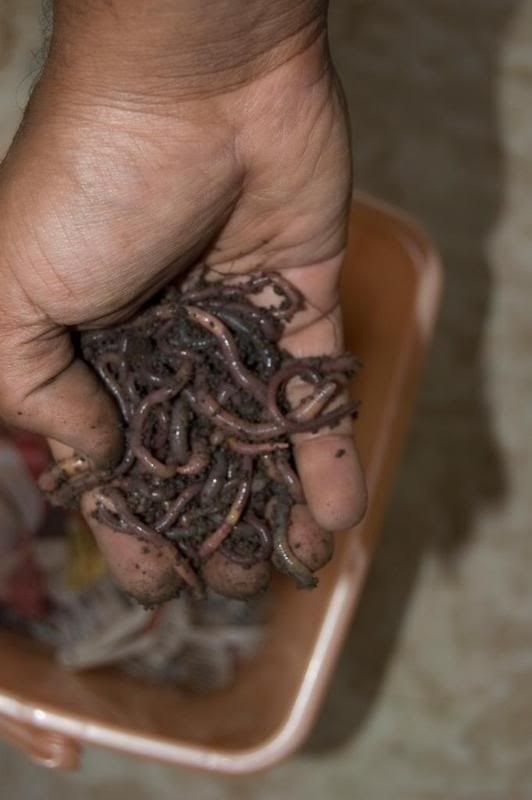
once done, then is the most important step, segregation of good worms and bad worms
Step 5
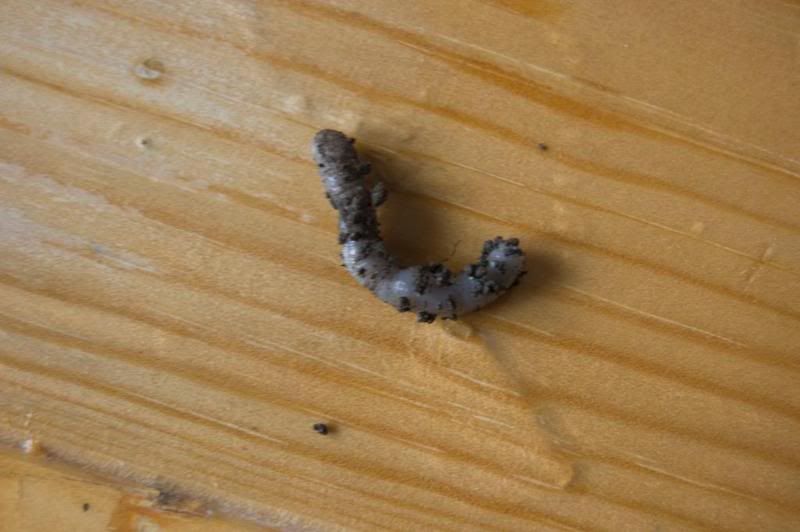
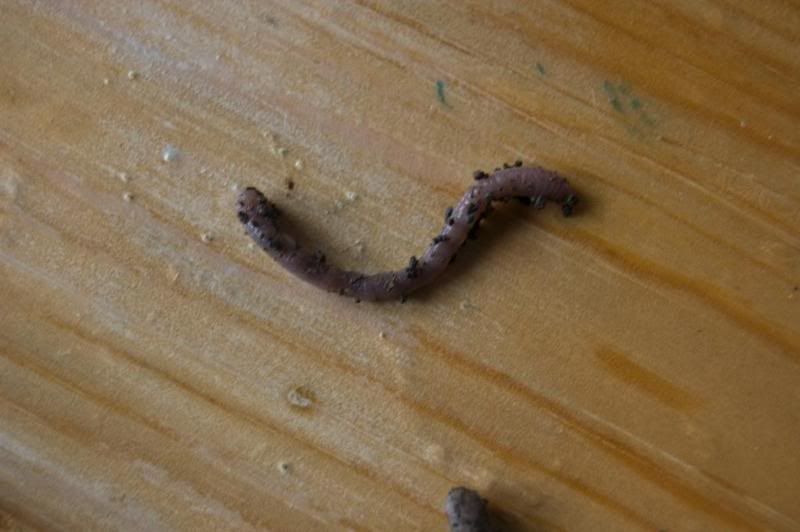
the above are the pics of dying or dead worms, these have to removed from the starter culture, as any dead worms in ur worm bin will mean the end of the whole culture
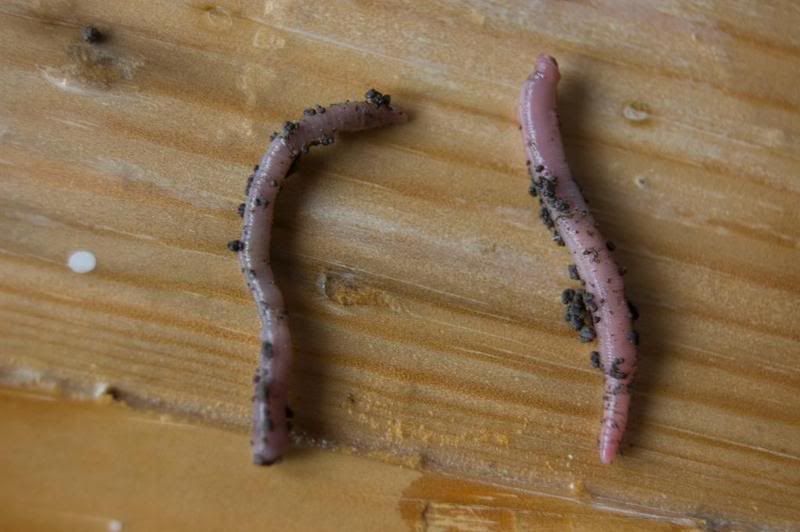
the worm on the right is a healthy worm and can be added to the bin, where as the worm on the left is a dying worm and has to be removed from the culture to keep ur culture healthy
Step 6
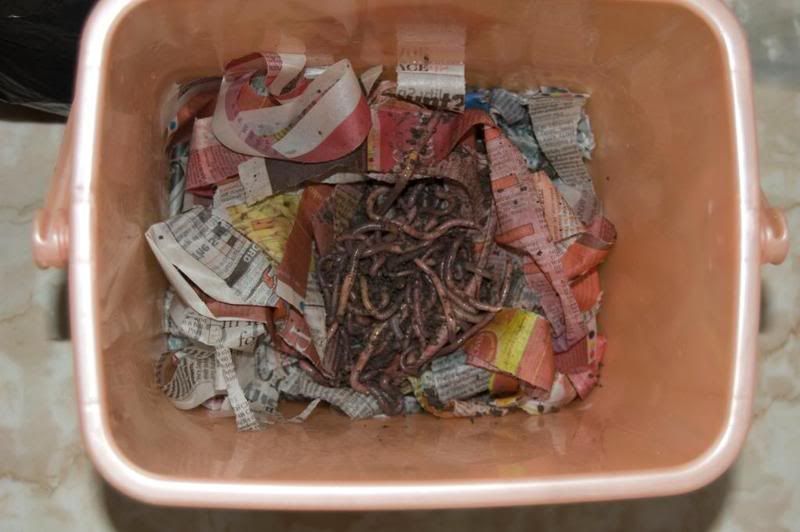
add the healthy starter culture to the bin.
Step 7
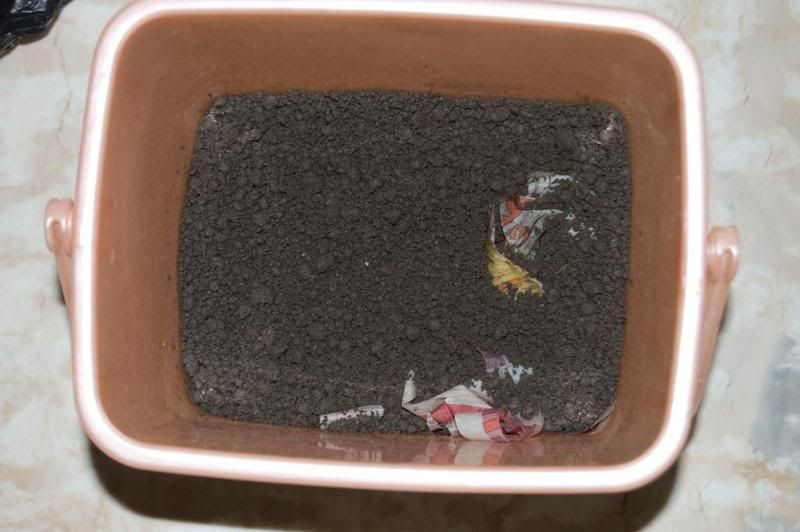
add a layer of garden soil to the bin,
and then ur bin is ready
remember to add kitchen waste to the bin, add in small quantities, so that u don't add too much and stink up the bin, when the number of worms in ur bin are less
once ur bin is matured by three to 4 months, u can harvest the larger worms or the smaller worms to feed ur beloved fish
Enjoy fish keeping
- a plastic dustbin/bucket
- old newspapers
- starter worm culture(get it from a bait shop, or dig 'em up from ur garden)
Step 1
a medium sized dustbin or a bucket would suffice
Step 2
spread out the newspapers and sprinkle em with water, not too wet, that the paper is soggy but just dampen it, so that the moisture is held by the dustbin
Step 3
tear strips of the news paper
Step 4
create a bedding at the bottom of the bin, using the strip of newspaper, do not compress the news paper
once done, then is the most important step, segregation of good worms and bad worms
Step 5
the above are the pics of dying or dead worms, these have to removed from the starter culture, as any dead worms in ur worm bin will mean the end of the whole culture
the worm on the right is a healthy worm and can be added to the bin, where as the worm on the left is a dying worm and has to be removed from the culture to keep ur culture healthy
Step 6
add the healthy starter culture to the bin.
Step 7
add a layer of garden soil to the bin,
and then ur bin is ready
remember to add kitchen waste to the bin, add in small quantities, so that u don't add too much and stink up the bin, when the number of worms in ur bin are less
once ur bin is matured by three to 4 months, u can harvest the larger worms or the smaller worms to feed ur beloved fish
Enjoy fish keeping